
I set up VolunteerSpot to organize people bringing desserts for my fall choir concert (my FIRST secondary concert EVER!). Guess what? It was all that I had hoped it would be--and a little bit more! So please let me tell you about it in case it will help you next year in your teaching! I imagine you could use this for costume prep, parties, parents volunteering to help students learn speaking lines, etc. Sound good? Yep!

What is SignUp.com?
SignUp.com is a website that allows you to create an event and describe what volunteers you need. You are then able to share this event with others through e-mail, a link, social media, or a button on your website. Parents can follow the link to see what volunteers are needed and can sign up without you being the middle man (or woman)!(I think a tear may be rolling down my cheek . . .)
How do you use it?
1. Sign up for an account using your school e-mail so that all communication goes to your school e-mail. Then it will take you to your Dashboard. This is where you get stuff done!
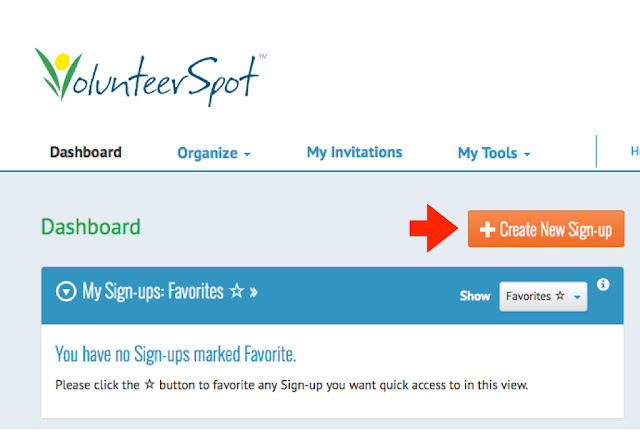
2. Click on "Create New Sign-Up."


Here's what it looks like when you add multiple spots:

5. When you are done creating spots and click "Next" it will take you to back the calendar view--but don't stop there! Go to the bottom and click "Next." It will take you to a page where you can customize your event's appearance to match the theme. LOVE this! Pick an icon, then scroll down to pick the background design. Click "Next" when you're done.


It gets better: This website sends reminders on its own to the people who sign up--YOU DON'T HAVE TO REMEMBER TO DO IT! However, if you want to send a message or a thank-you to your volunteers, go to "My Sign-Ups" and click on "Manage" and then "Messages." You can also print reports, etc. to see the status of your sign-up all through the "My Sign-Ups" section. LOVE IT!
Is it really FREE?
YES! As far as I can tell, unless you are someone who has to organize a marathon, I think you will be more than happy with the FREE package! You can always upgrade to premium if you really want to :)Is it worth the time?
Yes, there's a small learning curve when using SignUp.com, but it pales in comparison to the amount of time I used to spend making flyers, sending e-mails, and making phone calls! Work smarter, not harder right?Give it a try and let me know how you used it! I would love to hear how you saved time!
Catch you next time I have something Noteworthy!